
What’s so special about wood wicks? There’s more to them than just good looks. Let’s see how wood wick candles differ from those with traditional wicks and learn a few candle care tips for getting the most out of your candles.
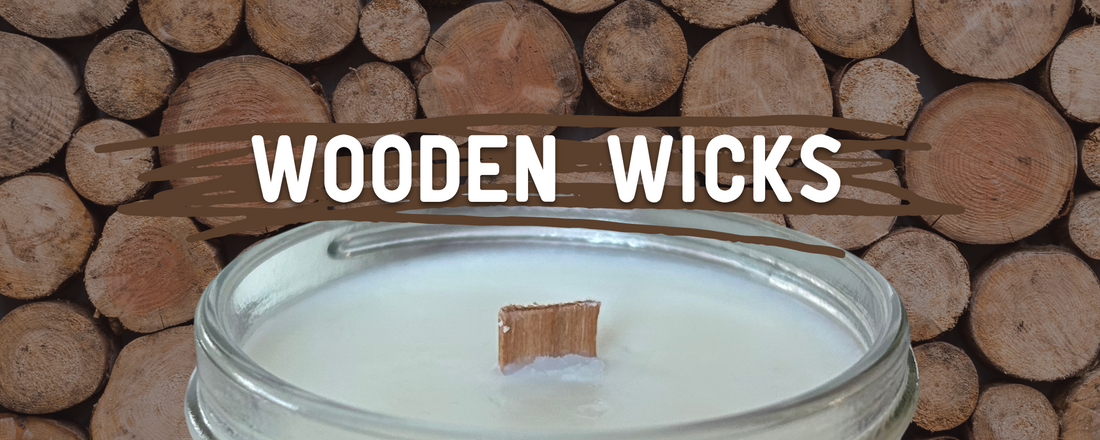
Wood vs. Cotton Wick Candles
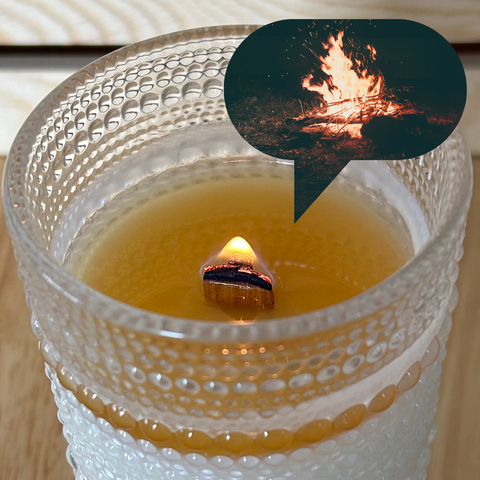
The first thing you’ll probably notice the first time you light a wood wick candle is the gentle crackle and pop as it burns. The soft sound is like a tiny campfire giving your burning candle a warm, fuzzy ambiance.
After a while, you’ll also see that wood wick candles tend to burn more evenly than traditional cotton wick candles, thanks to the lower, wider flame. That can increase the candle’s burn time, giving you more hours of scent, and also help prevent tunneling (which we’ll get into shortatory).
Plus, unlike pre-tabbed cotton candle wicks, which are usually coated with beeswax, wooden wicks are vegan! My soy wax candles have always been environmentally sustainable, with wax made from U.S.-grown soy and packaging that's reusable or compostable, but I’m glad to finally say they're also 100% vegan.
Speaking of which, my wooden wicks are sustainable, too: the wood comes from mills certified by the Forest Stewardship Council (FSC), which means it’s from forests that are managed in environmentally and socially responsible ways.
Wooden Wick Candle Care
The main difference in how to use wooden wick candles is that you should keep the wick trimmed to about 1/8 inch long. That’s a little shorter than the 1/4 inch length for cotton wicks because wooden wicks are wider, so they don’t need as much length. A long-handled wick trimmer is the perfect tool for the job.
But both types of wicks will accumulate carbon buildup on the end if left untrimmed or burned for too long at a time. You should only burn a candle for around four hours, depending on the diameter (about one hour per inch). And as always, trim the wick before each lighting.
This can be even more important for wooden wicks. While carbon buildup might cause a cotton wick to have too large a flame or produce soot, that charred wood might make a wooden wick harder to light. If that’s the case, try trimming the wick. Here’s about how long a wooden wick should be:

If it’s still hard to light, try holding the flame at the bottom of the wick and light it from there. This melts a little bit of candle wax, giving fuel to the flame as the wick draws it up.
Another issue that plagues many candle lovers is tunneling. This happens when you don’t do a long enough burn the first time you light a candle, also called a “memory burn.” A new candle always remembers its first melt pool (the circle of melted wax around the flame). So, when you first light a candle, remember to let it burn long enough to melt to the edge or within about 1/4 inch of it.
If you don’t, then the next time you light your candle, the melt pool may only spread as wide as it did the first time. But if you forgot, don’t worry — candle tunneling is simple to fix.
The Difference a Wick Makes
Wood and cotton wicks both have their perks. Cotton wick candles glow a little brighter, while wooden wicks burn a little more evenly. But if you love a warm crackling fire, you’ll appreciate the ambiance of a wooden wick. No matter your preference, a few habits will keep your candles burning cleanly and evenly. To avoid smoke, soot, and the dreaded tunneling, remember to do a memory burn and always trim your wick.
Check out my wooden wick soy candles in the shop! They're sustainably made with reusable and compostable packaging, and you can reuse the gorgeous glassware after you've enjoyed all that non-toxic, phthalate-free scent.